Showing posts with label garden harvest. Show all posts

Friday, January 29, 2016

How to Make Quick and Easy "Loaded" Lasagna Soup

Several years ago, I saw the words Lasagna Soup and HAD to read more.  I found Nicole Morrissey's recipe on her lovely blog, Prevention RD, and we probably tried it out the same night, if not the next.

I made variations from the first time I tried this, and I have continued to improve and vary my version of this for a few years now.

I LOVE lasagna and mine is fantastic, but since I have discovered lasagna soup, I don't think I have made real lasagna once.  That's because lasagna is time consuming and makes a real mess by using lots of bowls and dishes, while this is a one pot meal that cooks quickly and is just as delicious.

This soup is definitely one of my family's favorite meals.

The first variation I immediately made to this recipe was to use ground beef.  I prefer this soup with ground beef (chuck, actually), but have made an amazing meatless version of this using farro cooked in stock.  I have also used a combo of lean beef and ground turkey, and last night this soup pictured in photos was made using a 50/50 mixture of chuck and ground pork.  I did not like this near as much and won't add pork into the mix again.

I also added a ton of veggies into the original recipe, to make this more like my lasagna which is also vegetable heavy.  This can certainly be widely varied, depending on what you have that is appropriate on hand.

I brown my meat (or cook farro if I am preparing this without meat) first, and then drain and set that aside.  Then I wipe my pan and add a tablespoon or two of good butter or heat safe oil and gently saute an onion and a bell pepper or two.

 So many delicious dinners begin like this!

You can also use red and/or green onions and any color bells.  Roasted red peppers are delicious in this soup as well.

Once these have cooked and softened a bit, I add a couple of chopped zucchini.


You could also add chopped mushrooms at this point.  I recommend this, for sure, but some silly people in my family refuse to eat mushrooms, so I usually have to leave them out.

After these have softened for a few minutes, I add a lot of minced garlic, about six to ten cloves chopped.  I quickly add salt and spices. I always use my favorite all-purpose seasoning,  Cavender's All Purpose Salt Free Greek Seasoning 7 oz (NO MSG), Himalayan Pink Salt, and I might use ground oregano, ground coriander, and ground cayenne or red pepper flakes.

Then I add in two cans of fire roasted tomatoes.  Last night, I forgot to thaw the frozen spinach so I added it in at this point too.  I had to take a picture, because my soup hadn't looked this pretty at this point before (usually I add spinach later, once I have added stock).

 
Then I add the browned meat and about two and a half tablespoons of tomato paste, and stir this well.  Then I add two quarts of stock, either beef or chicken or vegetable works well.

After this has simmered for some time, I add fresh chopped herbs if I have them- oregano and/or marjoram, and/or basil if I have that.

Once the soup has simmered for fifteen to twenty minutes, I add twelve ounces of bowtie pasta noodles.  This cooks for ten to fifteen minutes,and then the soup's done.

But don't forget the cheesy goodness!  I mix equal parts whole milk ricotta and shredded cheese.  You can use mozzarella, mozzarella and parmesan, or an italian blend, and lots of black pepper.   Mix well and spoon this at the bottom of the bowls, before ladling soup, or just put a spoonful on top to garnish. Stir the cheesy mix into the soup before eating, and enjoy!




Wednesday, April 13, 2011

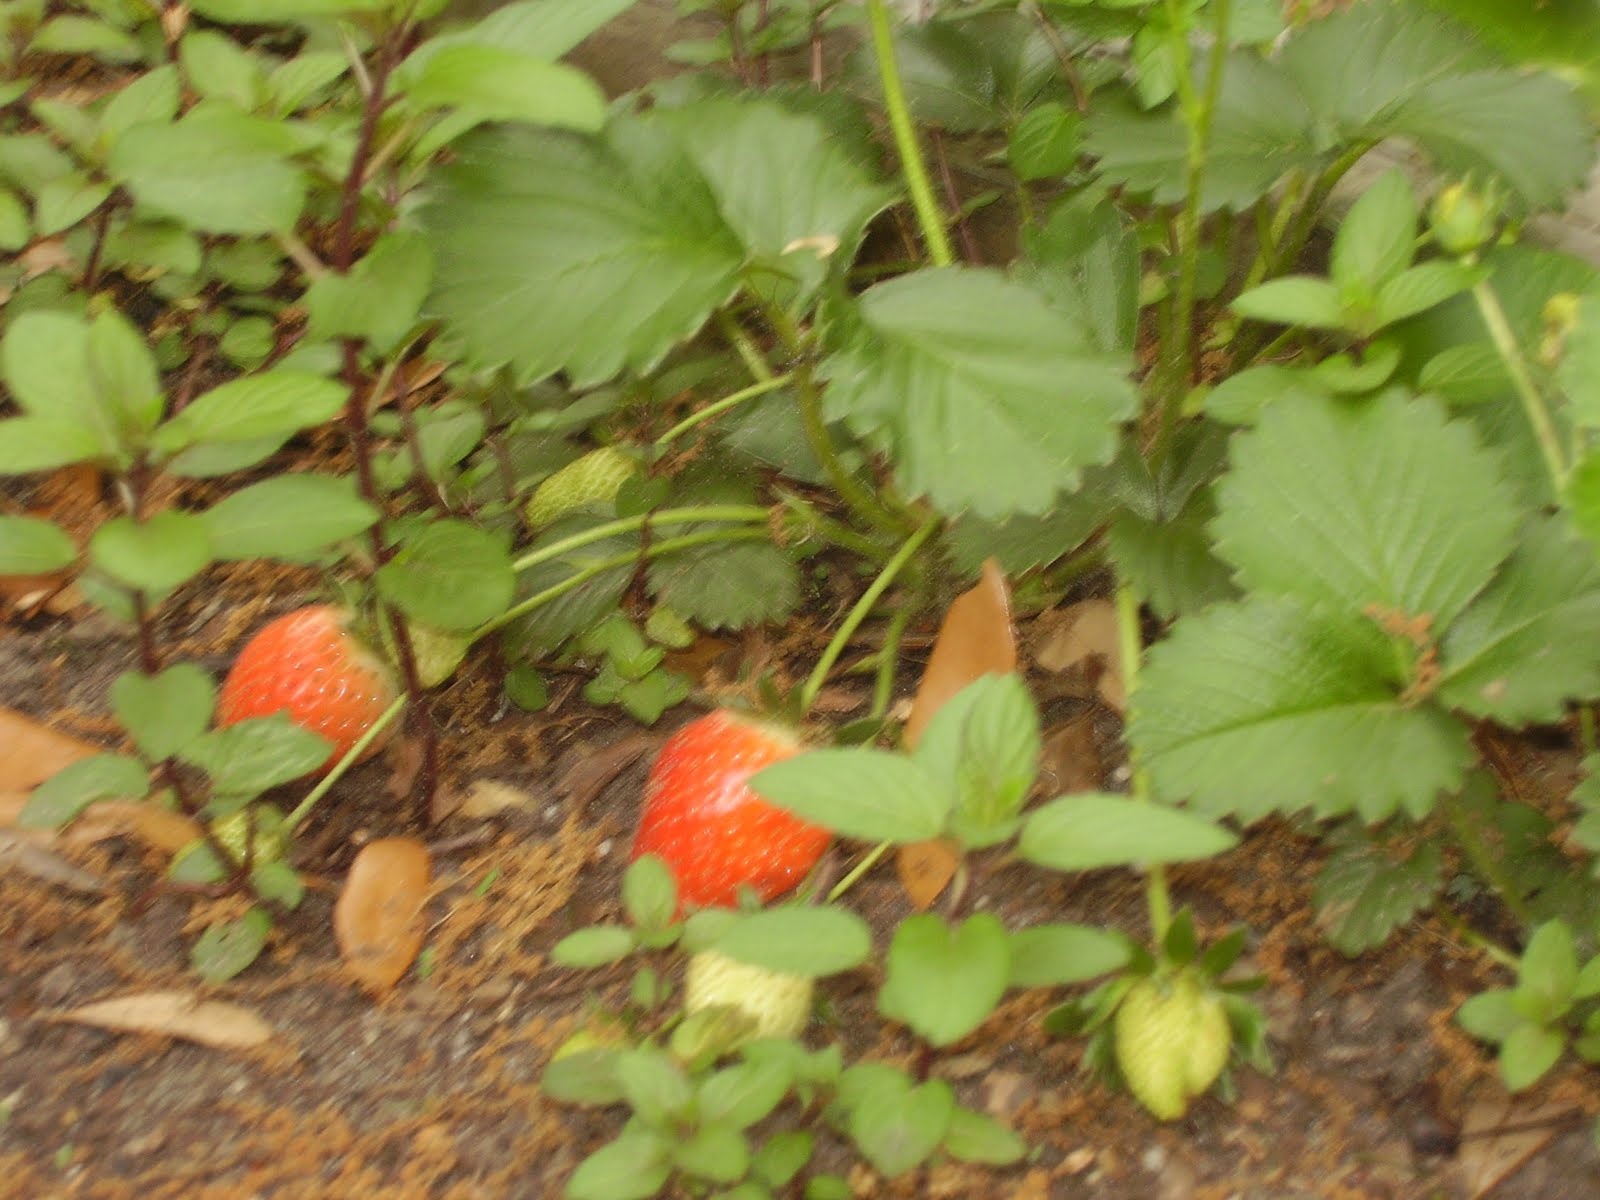
Sharing Garden Pictures: First Fruits 2011


Strawberries are so super easy to grow; just be sure to give them plenty of room because they spread a lot every summer.  That is chocolate mint in the picture as well.  I decided to let it run like a weed in our herb bed and I have not regretted it.  This chocolate mint seems both the sweetest and tastiest of the mints, and it also seems happier and more lush in my garden than regular peppermint or spearmint.

Speaking of strawberries by the way, I have recently discovered how easy it is to make chocolate covered strawberries, and this has been our favorite sweet treat this spring.  To make them, I just empty a cup or so of semi-sweet chocolate chips (not Nestle!) into a glass measuring cup and melt them in the microwave.  On my microwave, this takes 3 30 second cycles (stir between each 30 second nuking).  Then you just dip the berries in he smooth melted chocolate and set them on wax paper.  Stick them in the refrigerator to chill; it really only takes a few minutes for the chocolate to harden.  Share them with someone you love, and enjoy!  Strawberries are loaded with healthy goodness, and dark chocolate has antioxidants and bromine and other good stuff for your heart....so I consider these to be a health food and we enjoy them often without guilt!


These blueberries are of the Emerald variety.  We bought four varieties of blueberries in the fall, and this variety has the largest berries.  I wonder how long they will take to turn blue!


Husky Cherry Tomatoes.  I know some folks in more northern latitudes may feel amazed to see our tomatoes fruiting already, but please realize that it gets so hot here that our plants peter out (at 10 feet tall, sometimes) usually in late July, and then we will have no fresh tomatoes until late September or so, if we plant a second crop. It looks like this year I might succeed in having lettuce and tomatoes to harvest together.  This is hard to do here as it is quickly too hot for the lettuce, which bolts to seed.  Last year they almost missed each other- tomatoes seem to take a while to ripen and as the first tomatoes were ripening on the plants, the lettuce was starting to bolt.  I think we got one big salad for a party, and then the lettuce was done just as the tomatoes got started.  This year I planted some lettuce later than usual, chose an all-season mix, and knock on wood, we should have a few weeks of lettuce and tomatoes harvested together for salads.


These are a variety of Passionflower that do not fruit, unfortunately.  But the flowers are amazing and the vines seem happy and want to run rampant in this hot and humid climate.

I hope to make time for a fun sewing post soon.  Until then, Happy Growing!

Thursday, March 3, 2011

Rosemary Flowers

Our Rosemary is flowering now. 


If you don't have Rosemary growing at your house yet, it should be easy to find young plants at your local garden center right now.  Rosemary is one of my favorite plants to grow, as well as a favorite herb; we love it so much we named our dog Rosemary! 

They are easy to grow and thrive in full sun.  They tolerate humidity better than many other herbs, as they are used to growing near the sea.  A Rosemary bush will grow as tall as man, but not taller, according to a legend that centers around Christ.  This particular bush has been growing for us for four years now, and it was a couple or more years old when we bought it in a large pot; this is the first year that it has completely flowered.  We had small smatterings of blooms over the last two years, but this year it has blooms covering the whole bush.  Even if you don't have a garden, you ought to grow a Rosemary.  They will do well in pots outdoors, as long as they have plenty of room for their roots.  If your temps go down below 0, not just freezing, then you will want to grow it in a pot and bring it inside or somewhere protected to overwinter.  On the Gulf Coast, where we live, they are hardy and stay green all year.
Once you get some, besides cooking with it (it's particularly good with chicken, green beans, or potatoes), you can also use it to make things like flea dip for your dog, hair rinses for extra shine, and skin cleansing products.  Here is my recipe for facial toner/ astringent made with this herb and strawberry leaves.

Saturday, September 25, 2010

Luffa / Loofah Gourds: The Best Dishscrubbers You Can Grow


I probably won't be loom knitting anymore dishscrubbers, lol, because we have a huge harvest ready of Loofahs.   Many folks don't know Luffas are vegetables.  You can eat them if you harvest them when they are small (I want to try them for making bread), but if you let them grow on the vine, they will mature into fat vegetable sponges, which you can slice and use to scrub dishes (they work wonderfully on pots and everything else), or to give yourself (or a loved one) a vigorous scrubbing.  This could remove all kinds of toxins and impurities that might otherwise stay in your skin!  *You can just throw them in your washing machine to get them clean, too.*


Loofahs are wonderfully easy to grow, although they need a strong trellis or support.  Mr. Green built that lovely 12' foot trellis this year using 4x4s, a shovel, wooden lattice, and nails and screws.  But I have grown loofahs once before on a wooden swing support, or a fence could work fine, too.

Luffahs can be washed right in your washing machine!

The flowers are large and attractive.


When I grew these years ago, I followed instructions I found online that said to leave them on the vine until the sponges and vines turn to brown at the end of the summer.  I did this, and it worked.  But this year, I read further online, and decided to start harvesting these as they just start to lighten and discolor on the vine.  This is much preferable to me because they are much easier to peel when still partially green.  I just harvested them and then sat them on a table outside for only a day or two, turning occasionally.  Then I whacked them a few times against a step.  This loosened the skin, and even cracked it open in places....the sponges are then VERY easy to pull out of the skin, which just peels away.  When I did this with already fully dried brown sponges, it would flake away into lots of tiny pieces that had to be scraped off and peeling them took a lot longer.

But this way they are still wet and sappy, so you have to use a strong jet from the hose to wash them out really well, shaking out seeds.  Then I put mine back on the table outside to dry a few days, again, turning occasionally.  As I said, you can then slice them into about 3" slices (or whatever you prefer) to use in the kitchen, or use a whole sponge for the shower or bath.  You can also stuff one into a clean, empty pringle's can and then fill it with melt and pour soap to harden inside.  Once the soap has cured, you simply peel away the pringle's container and slice the scrubby soap into bars.  I would like to make some of these for Christmas gifts this year again, too.

I snapped a red zinnia, too, in the garden just now.  I planted these Scarlet flame Zinnias from seed and now they are nearly 6 feet tall.  There is a hummingbird or birds who are loving these; I see them often these days.  Zinnias are my favorite flowers, I think, mostly because they grow so well for me.  Besides the red, my favorites have been candy cane striped ones this year.  I think I planted only 3 different zinnia seed packets and that has been enough for as many bouquets as I would want in my house, as well as enough to continually share bouquets with several neighbors, the teacher, my mom, etc.

 
I hope you all have a nice day!

Tuesday, August 10, 2010

Quick, Easy Upcycled Vase Idea (with Zinnias)

Here is a SUPER quick and easy gift to make without sewing a stitch:


My mom did me a big favor today, and so I cut her a bouquet of zinnias from my garden.  I picked up several glasses like this at the Goodwill outlet for a dime a piece, and I figured one would work just fine as a vase.  But it sure did look plain, so I grabbed some scrap felt and my glue gun.  I just pinked the edges of a pink felt strip to glue around the glass, and decided that here again was a perfect place to use one of these felt flowers.

I have made probably several dozen of these felt flowers, and attached them to barrettes, hair bands, pins, a bag, and now a vase.  I made them from red felt and made the petals a bit pointier, and made them look like poinsettias, which I glued on lapel pins to make "corsages" for the ladies at Tall Sprout's school, last year for Christmas.  I think this vase would look nice with blue felt around the glass, and poinsettias like this....and that this would make a thoughtful, sweet gift for a teacher or neighbor, or anyone.  These can be used as votive holders, for candles, when you don't have flowers for the vase.

If you don't already grow Zinnias in your garden, I really recommend it.  Zinnias grow easily from seed, come in many colors, and can withstand drought and extreme heat.  Our heat index has been 199 every day for at least a month, and many plants in the garden kinda poop out about this time of year, but the zinnias stand tall and happy and are flowering profusely.  I didn't plant more than a packet worth of seeds (I planted parts of several packets, for color variety), but I have had enough zinnias this summer to keep several vases always full in my house, and have shared bouquets with several neighbors, and now my mom.

You don't have to have a green thumb or much garden space at all to grow zinnias.  They are for certain my favorite annual flower to grow, because they are so prolific and their beautiful flowers make me happy when I see them in the garden or the vase.  And I LOVE having flowers to share, so they can make loved ones happy as well.

I am linking this easy upcycle at The T-shirt Diaries, for Upcycled Awesome this week; head over there for lots more creative upcycle ideas! Here is the button that will take you there:

Friday, July 30, 2010

If you cook meat, try My Meatloaf

I made my meatloaf (with turkey) last night and as we were just devouring the leftovers, Mr. Green asked me if I had shared that recipe here.  I told him I didn't, that yahoo had published this recipe at Associated Content, but that I had not shared it on my blog.  He insisted that I share it with you here, as he just loves loves the way I make meatloaf.

It's much different than the average meatloaf, as it has peppers and instead of oats or breadcrumbs, I use crushed cheese crackers (or you could use plain crackers, too).  It's really really really good.

So, without further ado, here is the link to Aunt Millie's Garden Meatloaf.  

Try it; I bet your family will love this, too.

Wednesday, June 30, 2010

Portrait of an Herb: Echinacea


I want to showcase some herbs for you here on these pages.  The idea for this series started with pineapple sage, our favorite plant in our gardens.  There is not a lot of information available online about this plant.  There is almost no information about its medicinal properties (which are important and strong) and nowhere have I seen this plant properly praised.  We are waiting on it to flower before I showcase that herb.  But our echinacea is starring right now in our medicine garden, and so this is the herb I have chosen to showcase in installment one of my series "Portrait of an Herb."  These essays will include uses and growing conditions and culture for important medicinal herbs.  

I am happy to tell ya'll that Yahoo! has just bought the right to publish the first of this series of herbal portraits. 

 Read it at Associated Content
 Portrait of an Herb: Echinacea in the Perennial and Medicinal Garden
Please and Thank You!


Mr. Green bought me that solar butterfly as a gift, for Mother's day in the first year of that garden.  It changes colors at night, and we love it so much that he has now bought a total of three of these for our gardens. He would have gotten more if they hadn't sold out. But they are available again now at Amazon, so you can order one of these whimsical accents for your garden, too.


 Portrait of an Herb: Echinacea in the Perennial and Medicinal Garden

Monday, June 28, 2010

Garden Recipe: Strawberry Astringent for Natural Skincare

I want to share with ya'll this garden recipe you don't eat.  I first made this about 3 months ago, and I have noticed a big improvement in my skin.  Strawberries have salicylic acid, which discourages acne, and this toner is loaded with antioxidants.  You won't believe how smooth and soft and clean your face feels after you use this.  It is so cooling and fresh, and reminds me of the "Sea Breeze" astringent I used as a teenager- except this is all natural, with none of the harsh chemicals.

Here is all you need from the garden:


That is 7 strawberry leaves (and by 1 leaf, I mean all three leaflets) and one long rosemary sprig.  Or you could use several smaller sprigs....this isn't rocket science and you don't have to be exact with your amounts.

Chop up this vegetative matter and throw it in a pot with a cup of water.  Add 1 organic green tea bag.  Boil all of this, and then cool and strain.  Add 1 Tbs. apple cider vinegar (use the unfiltered kind that says "with the mother"), 7 drops patchouli essential oil (patchouli is great for the skin; you really won't smell it in the final product once everything is mixed), 8 drops peppermint essential oil, and 1 drop pine essential oil.

The peppermint is the only nonnegotiable oil in this recipe, as it gives the cooling effect.  As I said, patchouli is really great for the skin, and definitely recommended.  But if you don't have any, you could substitute lavender oil instead.  You could also use tea tree oil instead of pine, if that is what you have.  I do really recommend using the patchouli and pine, though.

I pour my toner in a Grolsch beer bottle, which has a handy flip top lid.  If you don't drink beer, you can usually get these from a bar for a quarter apiece, or you can use whatever you have available in approximately the same size.


 After you add your mixture, fill the bottle the rest of the way with distilled water, cap and shake well.  Apply to your face morning and night.  You could use cotton balls or pads, or if, like me, you prefer not to use disposable products, you can do what I did and find a nice soft old tee shirt and cut it into squares for this purpose.

You will love the cool tingling sensation and how soft and smooth your skin feels after using this.
I discovered recently that it works pretty well as a deoderant, too.

Monday, June 21, 2010

Recipe: Green Family Chicken Chili


We just changed the name of this recipe tonight.  When we first made it, last summer, we had lots of orange bell peppers and so the colors made us start calling this Flag of Ireland Chicken Chili.
But, alas, we are still waiting for our orange bells to ripen and used green bell peppers this time.
That is the nature of eating from the garden; your recipes will vary according to what is in season.

This is our favorite garden dinner.  And although we have made this without them, the real key to this dish is yellow pear tomatoes.  
I am sure I will post more later about these, our favorite heirloom tomatoes.  
Here is the recipe:

Green Family Chicken Chili

Ingredients:
2 lbs boneless skinless chicken breast
5 cups cooked navy beans
1 c chopped red onion
1 c corn
3 large sweet bell peppers; we like to use yellow and orange best, chopped
1 jalapeno, seeded and chopped
1 cayenne, seeded and chopped
1 red hot cherry pepper, seeded and chopped
1 sweet banana pepper, seeded and chopped
1 hot banana pepper, seeded and chopped
2 c yellow pear (or substitute other grape or cherry sized) tomatoes, cut in half
2 Tbs garlic, chopped
2 c chicken broth
2 Tbs fresh oregano, chopped
1 Tbs cumin (or to taste)
salt to taste
Cilantro, to taste
Sour cream, for garnish

Cut the chicken into bite size pieces.  Place in a skillet and cook until chicken just begins to brown.  Drain.  Use a large pot and add the cooked chicken, beans, peppers, corn, garlic and onions, chicken broth, cumin and oregano.  Stir and simmer for approximately an hour.  Then add your little tomatoes, cut in halves, and a lot of chopped cilantro.  Cook this way on low for about 30 minutes, or until you can't stand waiting any longer.  Garnish with sour cream and cilantro.  Enjoy!  


This is the recipe we wrote down last night, as Mr. Green cooked it.  It is always really good.  When I cook this, I like to brown the onions and most of the peppers a little first, before adding them to the beans and chicken.  I also put the cayenne in the oven on 300 for about 10 minutes, until it is lightly toasted, and then I chop it finely and soak in a tiny bit of water about half an hour, before grinding it into a paste and adding to the pot.  Mr. Green contends these steps are unnecessary.  His is always delicious, so he must be right; I will probably skip these steps next time.
Cooking this dish a long time mellows the peppers.  While there is some heat, the sour cream tones it down and it is not too spicy, even for children.  This is about the only dinner we cook regularly that has our son asking for seconds.  
Please let me know if you make this, and how it turns out.

Sunday, June 20, 2010

Today's harvest


Those are asparagus beans, which are just beginning to produce.  I measured one; it was 19 inches long!  Also pictured are our very first cayenne to turn red yet this year.  There are 30+ long, still-green cayenne in the garden, as we are growing nine of these pepper plants this year. Other peppers pictured include red hot cherry, hot bananas, mammoth jalapenoes, an anaheim chili, and some sweet bells.  Those are also the first ichiban eggplants we have pulled off the plants and the largest onion we have harvested yet.  I had to cut back the basil heavily today, as they are already wanting to flower, after which they will be too strong to eat.

We made salsa last night and so started with an empty bowl this morning; this was harvested today.

We are so thankful for and blessed by our garden, which is not particularly large (our 2 vegetable beds encompass approximately 250 square feet).  We didn't have a lot of experience when we started our first garden together, and we have never used any chemicals in growing our food.  We love gardening and know that it is easy and so much fun and we really encourage everyone to grow pure, clean, healthy and organic food.

Here is a great reference to get you started:


We have learned a lot from this author, use a lot of his methods, and refer to his book regarding spacing requirements and organic fertilizers and other things.  We do not adhere strictly to the square foot method, nor is it necessary in order to learn lots from this book.  This is definitely the first book I recommend to anyone interested in beginning vegetable gardening.

We are going to make our special garden recipe "Irish Flag Chicken Chili" with much of today's harvest tonight.  I will be posting the recipe later.

Sunday, June 13, 2010

Garden Roast

I had thawed a chuck roast for dinner and we had the previously pictured bowl of vegetables for accompaniment.  This was on Thursday night, just after I left the previous post.  I didn't post right away because initially I thought it might be a little silly to blog about dinner, but after reflecting on this, I have determined that this is definitely worth sharing.
So,  I decided to cook the vegetables in with the roast in a covered dish in the oven.  So I placed the roast and sliced the onions and squash, trimmed and threw in the small handful of beans, and tossed in the grape and cherry tomatoes whole.  Then I harvested and chopped a lot of thyme and oregano and a little bit of rosemary, sprinkled some Greek Seasoning and a dash of worcestershire sauce.  Then I was going to add water, but on a whim poured in apple juice instead.
 then I took a picture before I stuck it in the oven- I knew it was going to be good!

Well, actually, I was a little worried about the squash.  I usually cook it in butter and I had no idea if it would work with roast.  Boy, did it, though!  The squash pieces were delectable.  But it is the grape and cherry tomatoes that made this roast dinner extraordinary.  My gardening guy called them "explosions of awesomeness."  My Capricorn son, who never likes anything, was trying to stick his fingers in the pan to devour the last tomato and there ensued a vigorous argument between three people, two of them adults, over who would actually get that last tomato! The pan juices and the apple juice combined with the herbs to make this truly the best roast dinner I had ever cooked or eaten.  If you have grape or cherry tomatoes in your garden (or if you don't, get some the next time you go to the farmer's market), you simply MUST try tossing them in with a roast so you can experience for yourself how these things work so beautifully together as something totally new.